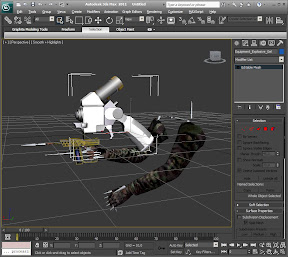
You need all same tools: ActorX Importer for 3ds Max and unreal archive unpacker umodel (download here). 1. Export needed 1st person welder animation and textures (KF_Weapons_Trip.Welder_Trip, KF_Weapons_Trip_T.equipment. Welder_D and KF_Weapons_Trip_T.hands.hands_1stP_military_diff) then open it in 3Ds Max. More detailshere.
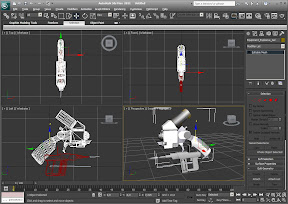
2. Add new welder model to scene. Previously it needs to remove all bones from model and pack all textures in one file (read texture baking article).
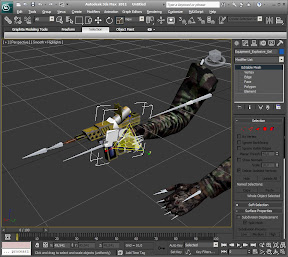
3. Using Move, Rotate and Scale tools combine models together so that new one looks naturally in hand.
4. Delete old welder and set new welder model material ID to old one. Combine effect mesh with new model. You may test results by playing animations. If you are making gun weapon then pay special attention to backsight combining and separate weapon parts binding also (magazine, barrel, cartridge) 5. Export obtained model to Killing Floor. Read details here. 6. Repeat steps 1-5 for 3rd person model (KF_Weapons3rd_Trip/ Welder_3rd). If you are making dropped weapon it needs to take care about model static mesh also.
7.Make mutator that replaces regular welder. Create new mutator with 3 files: NewWelder.uc
class NewWelderMut extends Mutator;function PreBeginPlay() { AddToPackageMap("NewWelder_A"); AddToPackageMap("NewWelder_T"); }function bool CheckReplacement(Actor Other, out byte bSuperRelevant) { if (Other.IsA('KFHumanPawn')) { KFHumanPawn(Other).RequiredEquipment[4] = "NewWelder.NewWelder"; }return true; }defaultproperties { GroupName="KF_NewWelder" }
NewWelderAttachment.uc
class NewWelderAttachment extends WelderAttachment;defaultproperties { Skins(0)=Texture'NewWelder_T.NewWelder' Mesh=SkeletalMesh'NewWelder_A.NewWelder3rd' }
Compile and add it to server as NewWelder.NewWelderMut. I change shader color, make HUD textures yet and see result! Readymade stuff you can purchaise here.